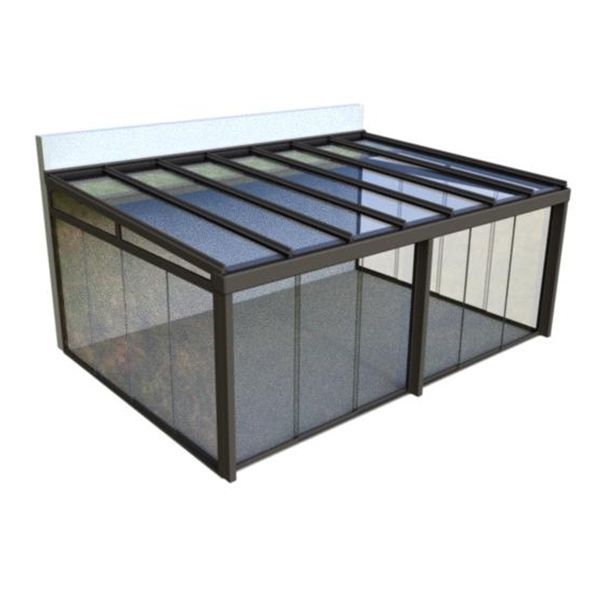
Measuring for a Glass Veranda: Your Complete Guide
Getting accurate measurements is essential when ordering a glass or polycarbonate veranda. Whether you are a homeowner planning a DIY installation or preparing details for a professional quotation, precise measurements ensure your veranda fits perfectly, functions properly, and avoids costly modifications.
This guide walks you through everything you need to know about measuring for a wall-mounted veranda in the UK, including what to look for, common pitfalls to avoid, and important planning considerations.
Before you begin measuring, gather these essential tools:
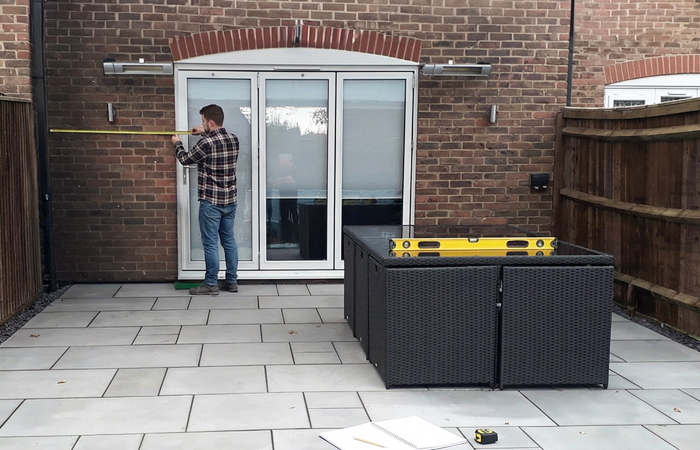
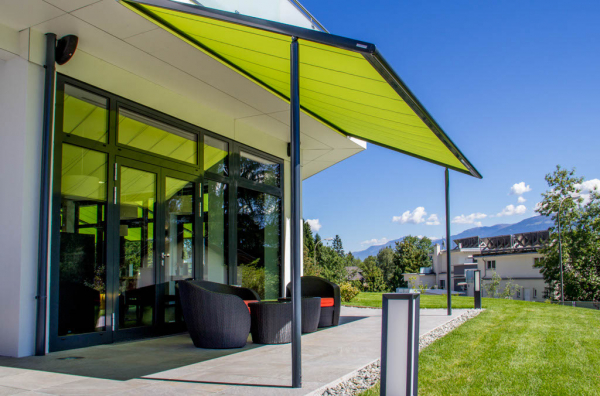
The width is the total distance along your house wall where the veranda will attach.
Pro tip: If your wall is uneven (bowed or rough stone), take measurements at multiple heights. Most wall profiles allow for some adjustment, but significant bows may require packing or stand-off brackets.
The depth (also called projection) is how far the veranda will extend outward from your house wall on the horizontal plane.
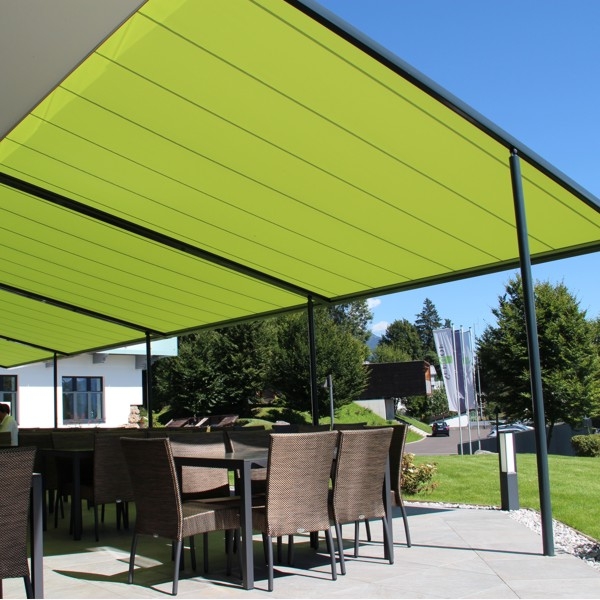
Standard UK projection depths typically range from 2.5 metres to 4.0 metres for wall-mounted systems.
Planning tip: A deeper veranda provides more shelter, but remember that for every metre you project outwards, the roof must slope down, which affects your wall fixing height (see Step 4).
This is the height from ground level to the underside of the front gutter/eaves beam.
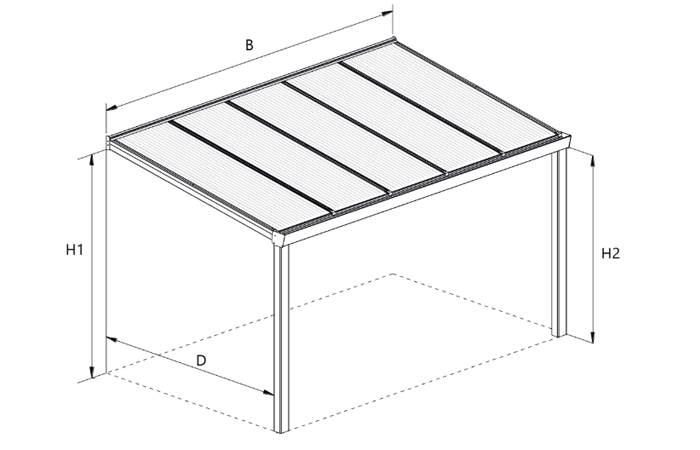
The wall height is the point where the wall profile attaches to your house. This is usually calculated rather than chosen freely, because it is determined by your Front Height, your Depth, and the Roof Pitch.
FORMULA: Wall Height (H1) = Front Height (H2) + (Depth × Pitch Calculation)
Typical Roof Pitches:
Worked Example (Standard 8° Pitch):
If your Front Height (H2) is 2100mm and your Depth is 3000mm:
This calculation gives you the height to the underside of the wall profile. You must ensure you have clear brickwork at this height (no obstacles like first-floor windowsills or soffits)
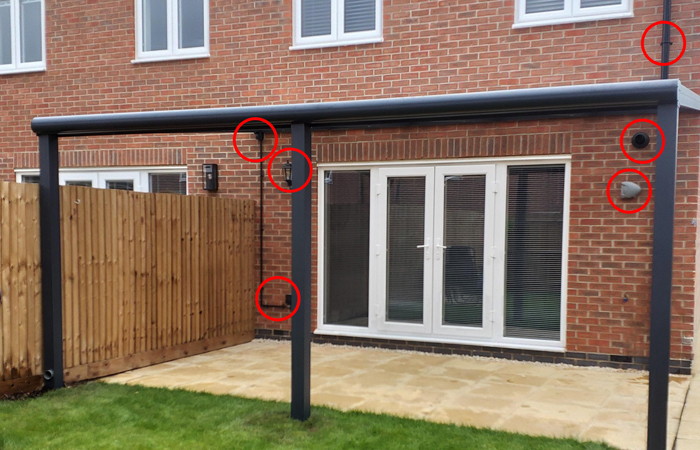
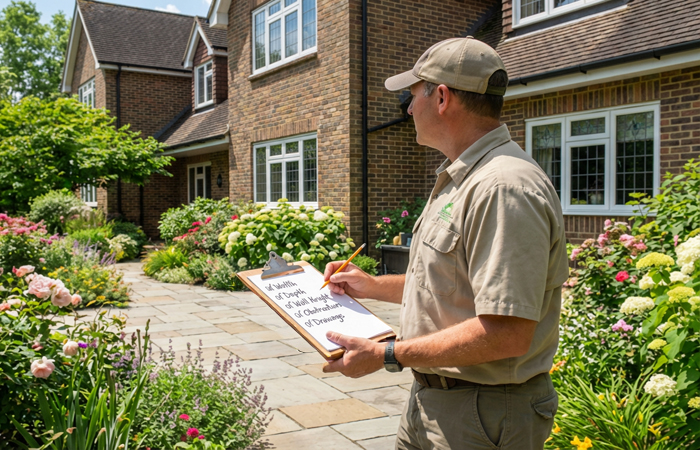
Create a sketch or take photos noting:
Wall-mounted obstacles:
Ground-level Considerations:
Wall Type
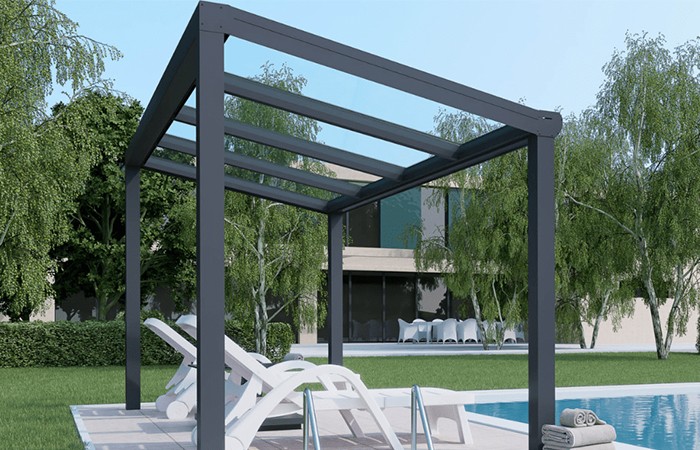
Standard verandas have maximum spans between posts (e.g., usually 3.0m - 7.0m max for glass systems). If your preferred width exceeds this, you will need an intermediate post.
However, if you want to avoid a post right on the edge of your patio, many systems allow you to inset (cantilever) the posts.
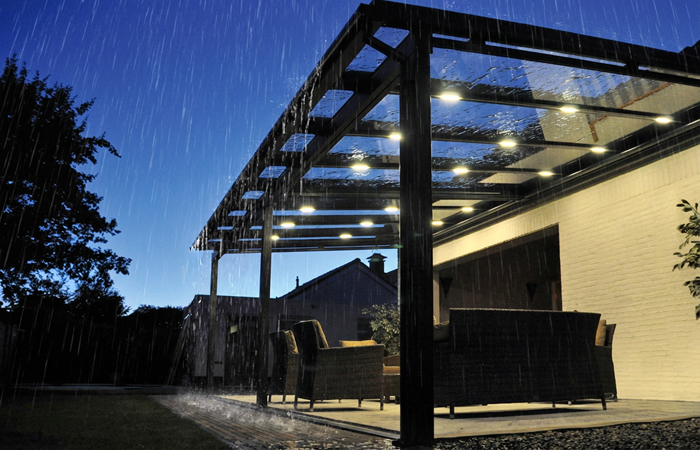
Every veranda needs to drain water. Most modern aluminium systems use an integrated gutter where the water runs down inside one of the front posts.
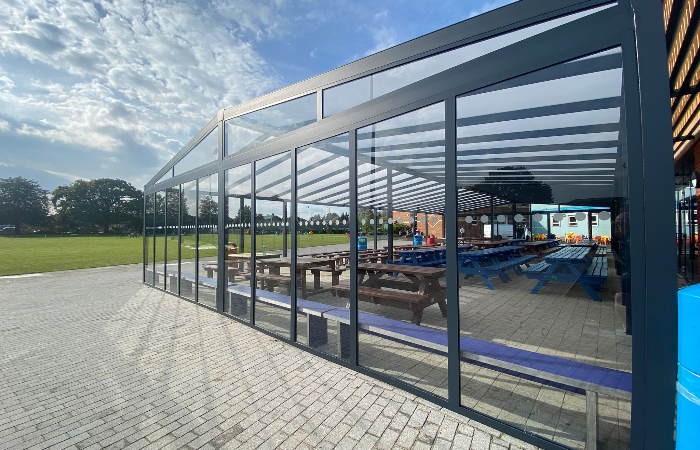
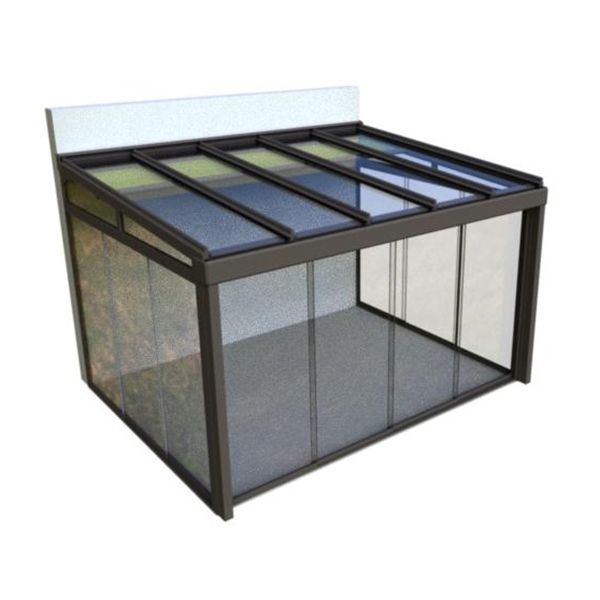
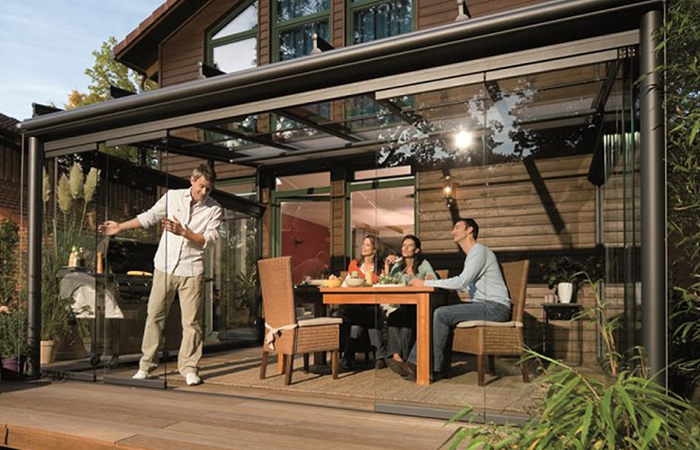
If you think you might want to enclose the sides later:
Q: Do I need planning permission for a veranda in the UK?
A: Most verandas fall under Permitted Development rights if they are single-storey, rear extensions. Typically, if the height is under 4m (or 3m if within 2m of a boundary) and it does not cover more than 50% of your garden, planning is often not required. However, restrictions apply to listed buildings or designated areas (Conservation Areas, National Parks). Always check with your local planning authority or visit the Planning Portal.
Q: What is the difference between measuring for glass vs. polycarbonate?
A: The measurement principles are identical. However, glass is significantly heavier. This means glass verandas often have stricter limits on post spacing (usually max 4m between posts) compared to polycarbonate, which can sometimes span wider.
Q: Can I install a veranda on an uneven surface?
A: The structure itself needs to be square and level. If your patio slopes (which it should for drainage), you will need to adjust the post lengths. Often, installers cut the posts on-site to accommodate the fall of the patio, ensuring the roof remains level.
Q: How accurate do my measurements need to be?
A: For the initial quote, estimated sizes are fine. For manufacture, aim for accuracy within ±5mm to 10mm. Verandas are engineered products; precise measurements ensure the kit goes together smoothly.
Q: Should I measure before or after I have my patio laid?
A: Ideally after, so you know the exact finished floor level for your height measurements. If you must measure before, you need to know exactly how much height the new paving will add (e.g., 50mm) and deduct this from your available height under windowsills.
Before ordering your veranda, ensure you have:
Taking accurate measurements for your glass or polycarbonate veranda is a logical, step-by-step process. By calculating your wall height correctly and checking for obstacles early, you prevent 90% of common installation issues.
Remember, the goal is to ensure the wall plate fits cleanly on the house and the front clearance is high enough for comfortable use. When in doubt, provide more information—detailed photos and sketches are invaluable for your supplier to spot potential issues before your order is processed.